Turn the view round your design, slide it across, and zoom in and out, with a trackpad or a mouse. The view turns like a turntable, so up always stays up.
With a trackpad
- Two fingers moving turns the view round the design.
- ⇧ and two fingers slides the view.
- Pinch zooms in or out, towards the pointer.
- Double-tap with two fingers zooms to fit the whole design.
With a mouse
- Drag with the right button to turn the view round the design. A right-click that doesn't drag shows the right-click menu instead.
- ⇧ and right-drag, or drag with the middle button, slides the view.
- Turn the wheel to zoom, towards the pointer: pushing it away zooms in.
Standard views
Choose a view from View ▾ in the toolbar, or from the View menu with its keys:
- Home (⌘0): from the front right and above.
- Top (⌘1), Front (⌘2) and Right (⌘3).
- Zoom to Fit (⌘9): everything that's shown, filling the view.
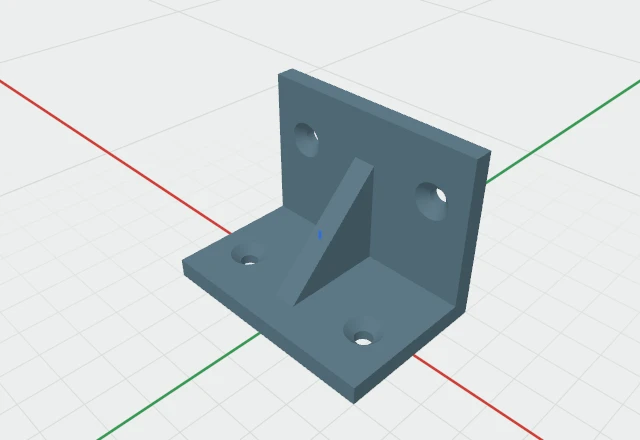
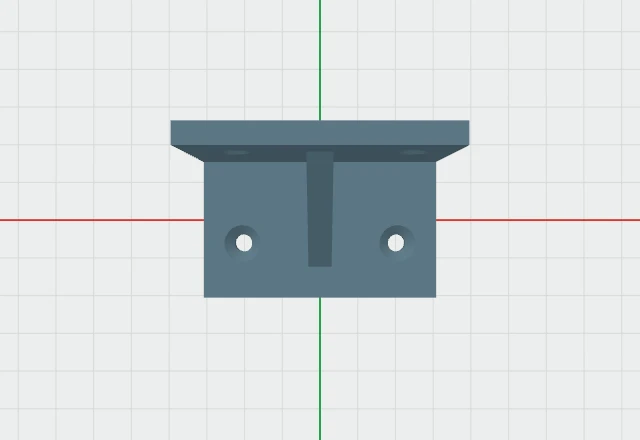
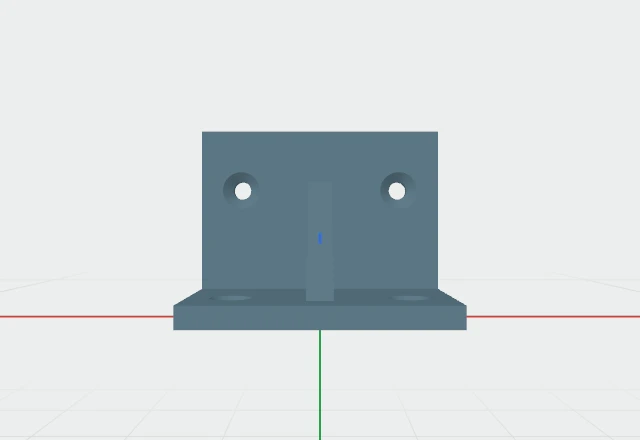
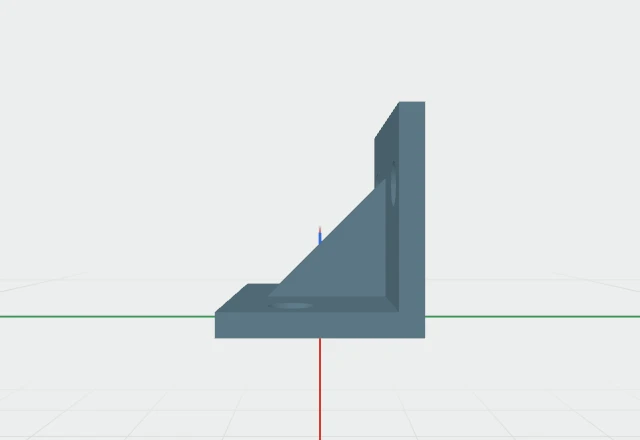
Perspective and orthographic
In perspective, things farther away look smaller, as they do to your eye. In orthographic, sizes look the same however far away, so edges that are parallel stay parallel: good for lining things up by eye. Switch with View › Orthographic (⌘5), or the choice at the bottom of View ▾. The status line says which is on.
The grid
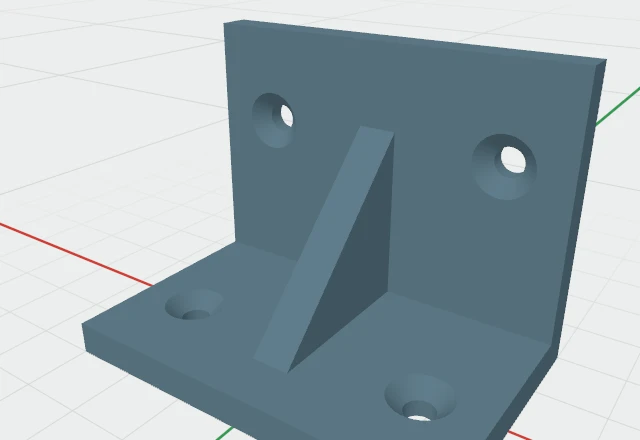
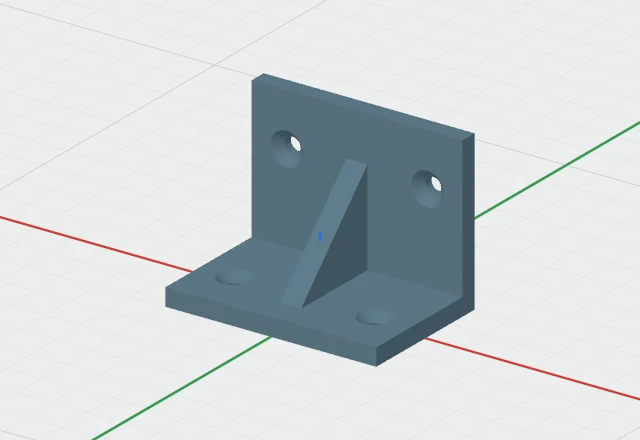
The grid is the build plate, in millimetres or your design's units, with the X axis in red and the Y axis in green. Its lines get finer as you zoom in and coarser as you zoom out, and the status line gives the spacing, such as "Grid 10 mm".