To print a design, export it as an STL file and open that in your slicer, such as PrusaSlicer, Bambu Studio, OrcaSlicer or Cura. The file holds exactly what the 3D view shows: holes cut, combined objects combined, fillets rounded, all joined into one solid.
Exporting
- Choose File › Export as STL… (⇧⌘E) for everything that's shown, or File › Export Selection as STL… (⌥⇧⌘E) for only what's selected.
- Choose where to save it. The name starts as the design's, or the selected object's.
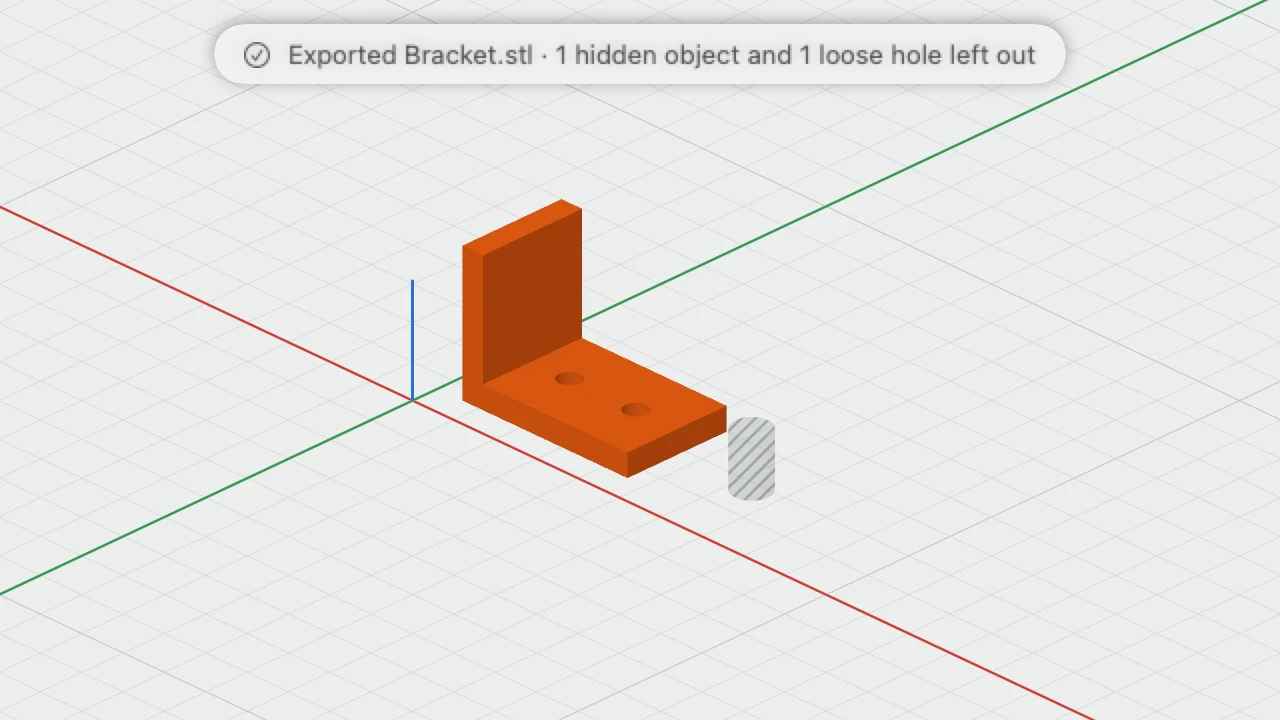
- Click Save. A note at the top of the view says what was exported, such as "Exported Bracket.stl".
What goes in
- One solid. Everything is joined into one watertight mesh, so parts that overlap merge and the slicer prints what you see. Parts that don't touch stay separate pieces in the same file.
- Millimetres, Z up. STL files have no units, and slicers read them as millimetres, so exports are always in millimetres, whatever units the design is shown in. Up in the design is up on the print bed.
What's left out
- Hidden objects, including hidden ones inside groups.
- Loose holes: holes that aren't grouped with anything cut nothing, so they're left out. Group a hole with the solid it should cut: see Solids and Holes.
The note says what was left out, such as "1 hidden object and 1 loose hole left out", so nothing goes missing without you knowing.
An imported model that isn't watertight can't be joined to the rest. It goes into the file as it is, beside the solid. If a shape couldn't be made into a solid at all, the export stops and says so: look for an object outlined in red stripes.